
感谢 @MMRlove 以成本价为我提供了新的保种盒子(虽然还是100M的KS-2E),既然是新盒子的话,不如尝试下新的东西,然后试了下有名的QuickBox,然而以Apache作为WEB服务的配置让我这个习惯lnmp环境的感觉到了极大的不适,而且部分链接仍然使用ip的形式来访问(即使使用Let’s Encrypt脚本将其替换成域名形式,也是只是部分改成了<domain>:<port>,这样我没法用Cloudflare的CDN加速呀!!!),此外QuickBox对于系统的bash环境改动过大,个人不是很喜欢。而原先使用rtinst脚本因为大幅改进导致我再次使用极不习惯。此外两个脚本默认都是不带ipv6-patch的rutorrent,后面去重新打补丁编译更麻烦,不如自己直接配置方便。
系统配置及安装软件
- Ubuntu 16.04
- BBR
- Nginx with module fancyindex
- rTorrent + ruTorrent 0.9.4 with libtorrent 0.13.4 (with IPv6 patch and autodl-irssi)
- Transmission
- Deluge
- qBitorrent
- ffmpeg
- webmin
这是一篇很长很长的文章,所以我还没写完Orz,另请注意,这是搭建我使用顺手的Seedbox环境,并不一定适用于所有用户。同时目前使用的一些资源来自多处,以后会慢慢整理成一个合适的repo放在Github上。
准备工作
准备工作主要做更改sshd服务,使用自定义用户名及密码登陆服务器而不是使用默认的root账户。并将所有资源存在以这个账号的根目录下。
安装BBR
BBR是Google开源的TCP拥塞控制算法,并能提升网速,这里直接使用来自秋水逸冰的一键脚本来安装。(因为这不是我们的重点工作2333,然而其实百兆管优化效果。。。
1 | wget --no-check-certificate https://github.com/teddysun/across/raw/master/bbr.sh && chmod +x bbr.sh && ./bbr.sh |
等脚本跑完,如果系统的Linux内核已经大于4.9会直接启用,如果小于的话,会更新内核到最新的内核,然后reboot检查是不是正常开启即可
更新软件源并安装必备软件
在这一步我们安装了php7.0环境以及编译环境,以及Nginx、ffmpeg、mediainfo等软件
1 | apt-get update && apt-get upgrade |
请注意,以下所有步骤的依赖均在此步解决默认是已经安装了sudo服务,如果没有的话可以apt-get install sudo来安装。
如果对于vi操作不习惯可以使用nano来替代
,使用。并将后面的vi操作替换成nanoapt-get install nano来安装
Nginx简单配置
这里只是简单的初步设置,对于不同软件的proxy我将在具体安装的过程中说明。同样,我将在所有配置完成后对Nginx设置做进一步优化。
创建Htpasswd文件(用于用户认证)
这里偷懒直接用Online Gen就行 http://www.htaccesstools.com/htpasswd-generator/ 。输入账号密码,然后直接复制生成的内容就行保存到
/etc/nginx/.htpasswd即可自签Https证书
自签一个https证书来使用。(因为到时候会用Cloudflare CDN,所以自签一个不会有很大影响)
1
2
3
4
5mkdir -p /etc/ssl/
openssl genrsa -des3 -out /etc/ssl/seedbox.key 1024
openssl req -new -key /etc/ssl/seedbox.key -out /etc/ssl/seedbox.csr
openssl rsa -in /etc/ssl/seedbox.key -out /etc/ssl/seedbox.nopass.key
openssl x509 -req -days 365 -in /etc/ssl/seedbox.csr -signkey /etc/ssl/seedbox.nopass.key -out /etc/ssl/seedbox.crt编辑
vi /etc/nginx/sites-enabled/default默认配置文件,找到并将有关php的设置改为以下内容,让Nginx支持了php。对于这一个配置文件,我们后面将再做更改。然后没问题可以使用service nginx reload重载配置文件。1
2
3
4
5
6
7
8location ~ \.php$ {
include snippets/fastcgi-php.conf;
# With php7.0-cgi alone:
#fastcgi_pass 127.0.0.1:9000;
# With php7.0-fpm:
fastcgi_pass unix:/run/php/php7.0-fpm.sock;
}
增加用户账户
请将<username>(ssh登陆的sudo账号名,最好使用全小写字母)替换成你需要的登陆用户名,并按照操作操作。
1 | adduser <username> |
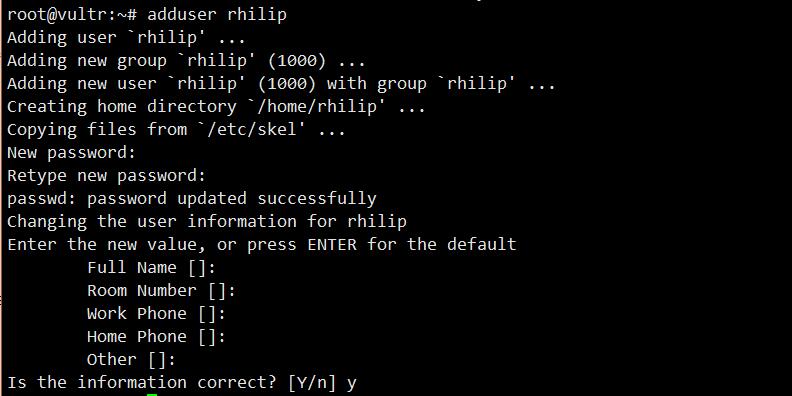
输入visudo赋予新账号超级用户权限。在新出现的页面中找到原有的root位置,并添加账号信息。保存退出。
1 | # User privilege specification |
修改sshd设置:vi /etc/ssh/sshd_config
- 修改默认的ssh端口为任意值,可以使用
<10001-65535>中的任一值。(QuickBox默认使用4747,rtinst会使用21000-29000) - 禁止root账号登陆,并允许新账号登陆。
- 禁用
x11 forwarding与DNS。
需要找到修改配置
1 | Port <10001-65535> |
需要在默认配置中新增
1 | UseDNS no |
确认全部设置完成使用service ssh reload重启ssh服务,并在本地重新开一个ssh窗口,如果使用信息可以正常登陆的话,关掉原有的root窗口,之后我们将使用sudo提权的方式来配置系统环境,如果不行的话,请检查之前配置。
编译安装支持IPv6的rTorrent
安装XML-RPC
Homepage: http://xmlrpc-c.sourceforge.net/
XML-RPC is a quick-and-easy way to make procedure calls over the Internet. It converts the procedure call into an XML document, sends it to a remote server using HTTP, and gets back the response as XML.
下载xmlrpc源码包,编译安装。
1 | svn co https://svn.code.sf.net/p/xmlrpc-c/code/stable /tmp/xmlrpc-c |
安装libtorrent(0.13.4)并安装IPv6-patch
LibTorrent is the library on which the rTorrent client runs.
Before beginning this section, navigate to http://rakshasa.github.io/rtorrent/ in your browser to find the latest version of the library. Update the filename in the commands below to account for the version of LibTorrent you’d like to use. Make sure any communities you belong to have the torrent client you choose to use whitelisted.
在这一步中,我们将libtorrent的源码包下载到/tmp目录下,并打上IPv6补丁编译。
1 | cd /tmp |
安装rtorrent
Just as with the previous section, navigate to http://rakshasa.github.io/rtorrent/ in your browser to find the latest version of the client. Update the filename in the commands below to account for the version of rTorrent you’d like to use. Make sure any communities you belong to have the torrent client you choose to use whitelisted.
在这一步中,我们将下载rtorrent的源码包到/tmp目录下,并打上IPv6补丁编译。
1 | cd /tmp |
配置rtorrent
创建rtorrent相关目录(下载存储目录、watch目录),并修改相关权限
1 | mkdir -p /home/<username>/rtorrent/{.session,watch,downloads} |
使用vi ~/.rtorrent.rc编辑配置文件将以下修改自 arakasi72/rtinst/conf/rtorrent.rc 的信息粘贴进去。(请注意替换<username>,共2处)
1 | # This is the rtorrent configuration file installed by rtinst script - https://github.com/arakasi72/rtinst |
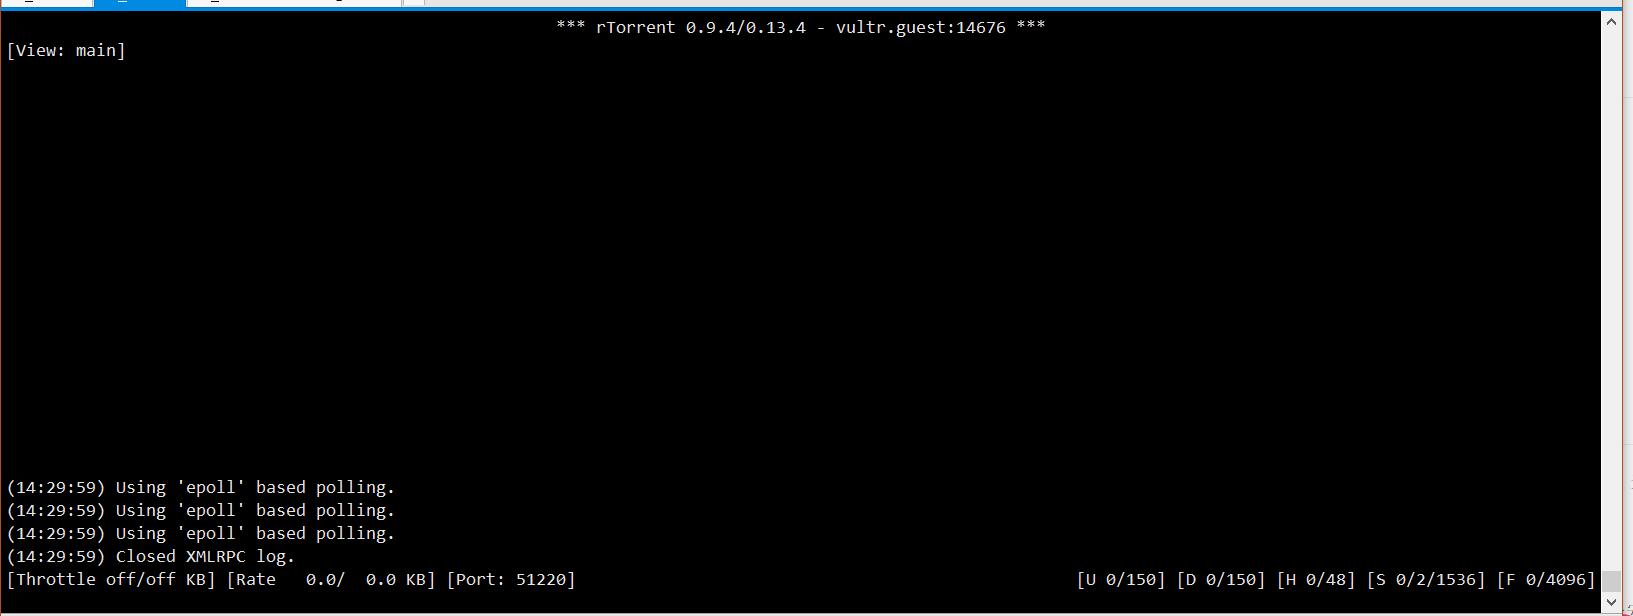
完成后使用rtorrent检查是否能正确进入rtorrent页面。如果没有任何报错信息的话,直接使用ctrl+Q返回退出。
安装Rutorrent
下载Rutorrent源码包
1
2
3
4cd /var/www/html
sudo git clone https://github.com/Novik/ruTorrent.git rutorrent
sudo rm -rf rutorrent/plugins
sudo svn checkout https://github.com/Novik/ruTorrent/trunk/plugins rutorrent/plugins配置Rutorrent
- 添加软件夹权限
1 | sudo chown -R www-data:www-data rutorrent |
- 修改配置文件
sudo vi rutorrent/conf/config.php,并更改以下项
1 | $log_file = '/tmp/rutorrent_errors.log'; |
- 修改启用插件
备份原有插件信息
1 | sudo mv /var/www/html/rutorrent/conf/plugins.ini /var/www/html/rutorrent/conf/plugins.ini.backup |
复制以下内容并保存退出
1 | ;; Plugins permissions. |
- 打开
http://<server_ip>/rutorrent检查是否正确加载,并尝试添加种子看是否能启动下载~至此rTorrent+ruTorrent配置完成。该段的后面我将说明Autodl-irssi的安装过程
安装Autodl-irssi
“[Autodl-irssi is a] plugin for Irssi which monitors torrent IRC announce channels, downloads torrent files based on a user-defined filter, and then sends the torrent files to a local or remote torrent client.”
- 下载源码包
1 | mkdir -p ~/.irssi/scripts/autorun |
- 更新rutorrent插件
1 | cd /var/www/html/rutorrent/plugins |
- 配置
- 修改监听端口并配置随机密码
sudo vi autodl-irssi/conf.php
1 | $autodlPort = 45638; // Any port between 20000-65535 that you have not used previously |
- 修改auodl-irssi设置
vi ~/.autodl/autodl.cfg,复制以下内容,其中端口号和密码应与上步配置中相同。
1 | [options] |
启动
screen -S autodl -fa -d -m irssi,并打开ruTorrent页面检查是否正确安装。没有问题的话,可以直接输入/exit退出irssi页面,后输入exit退出screen页面配置自启动
偷懒使用rtinst脚本工具来完成rtorrent和irssi的自启
1 | cd /usr/local/bin |
然后编辑crontab文件crontab -e,添加以下两条即可
1 | @reboot sleep 10; /usr/local/bin/rtcheck irssi rtorrent |
安装Transmission
包管理安装Transmission
Transmission的安装与本人已有文章Ubuntu 14.04 安装Transmission2.82的步骤基本类似,此处不再做说明。
命令大体如下:
1 | sudo add-apt-repository ppa:transmissionbt/ppa |
然后编辑相关配置文件并使用ronggang/transmission-web-control替换默认的web控制端。
全部完成后,你可以临时访问"http://<server_ip>:9091"检查~
扩展:编译替换支持skip hash check的transmission 2.92
这里使用的是Evalyn修改的源码包,与 superlukia/transmission-2.92_skiphashcheck 相比,基于官方Release Source修改,添加任务后选择“Ask for more peers” 或者 “Move to Queen bottom” 均可立即跳过校验。原版WebRPC或者个性化增强的WebRPC均可使用
1 | curl https://npupt.com/downloads/transmission-2.92-skiphash-with-newui.tar.gz | tar xz |
安装Deluge
使用包管理器安装Deluge
1 | sudo add-apt-repository ppa:deluge-team/ppa |
配置Deluge
sudo vi /etc/systemd/system/deluged.service复制并粘贴以下内容
1 | [Unit] |
并使用以下命令管理
1 | 启动:sudo systemctl start deluged |
配置Deluge WebUI
sudo vi /etc/systemd/system/deluge-web.service复制并粘贴以下内容
1 | [Unit] |
同样的管理命令
1 | 启动:sudo systemctl start deluge-web |
全部完成后,你可以临时访问"http://<server_ip>:8112"检查,默认密码为deluge
安装ItConfig
ltConfig is a plugin for Deluge that allows direct modification to libtorrent settings.
到 https://github.com/ratanakvlun/deluge-ltconfig/releases 上下载最新的egg发布文件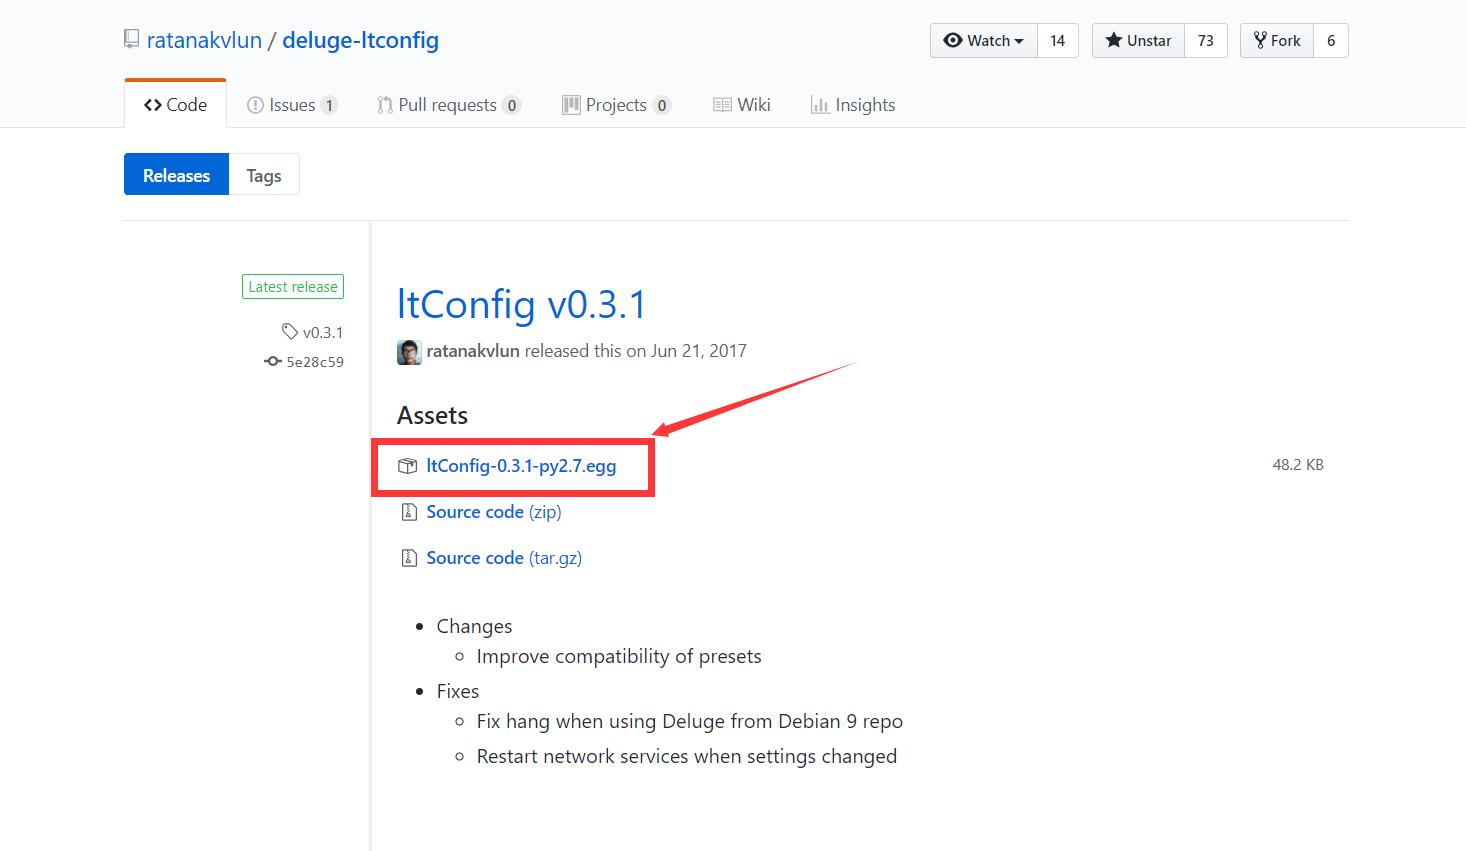
进入Deluge WebUI配置页面安装
安装完成后启用该插件即可~
安装qBtorrent
仍然是直接的包管理安装
注意,如果你需要最新版本的qb4.x,请添加官方源先sudo add-apt-repository ppa:qbittorrent-team/qbittorrent-stable
不然,请直接使用以下命令安装qb3.1左右的版本
1 | sudo apt update && sudo apt install qbittorrent-nox |
配置自启动脚本sudo vi /etc/systemd/system/qbittorrent-nox.service
1 | [Unit] |
并同样使用以下命令管理
1 | 启动:sudo systemctl start qbittorrent-nox |
完成后使用http://<server_ip>:8080访问,默认的账号和密码为admin与adminadmin
安装webmin
1 | cd /tmp |
安装完直接访问https://<server_ip>:10000即可
配置Nginx
以下是R酱的魔法时间23333~
强制使用https访问
80端口监听的http服务使用301跳转到http,实现代码如下
1 | server { |
Transmission反代
1 | rhilip@Lolicon:/etc/nginx$ cat snippets/transmission.conf |
RuTorrent 添加访问密码
1 | rhilip@Lolicon:/etc/nginx$ cat snippets/rutorrent.conf |
Deluge反代
1 | rhilip@Lolicon:/etc/nginx$ cat snippets/deluge.conf |
qBittorrent反代
1 | rhilip@Lolicon:/etc/nginx$ cat snippets/qbitorrent.conf |
重新修改默认default文件
1 | rhilip@Lolicon:/etc/nginx$ cat sites-enabled/default |
全部引用源
在全部的过程中参考了很多的文章,在此表示感谢。
- 一键安装最新内核并开启 BBR 脚本 | 秋水逸冰
- QuickBox: QuickBox是全能的Seedbox一键环境搭建脚本,其Github项目地址:QuickBox/QB,项目展示页:https://quickbox.io/
- rtinst: arakasi72/rtinst 是另一个可以在Ubuntu 与Debian系统上一键安装rTorrent + ruTorrent服务,并自动配置好相关服务的脚本。
- rTorrent + ruTorrent Configuration Guide // jes.sc | Knowledgebase: 这是使用Apache作为Web服务的rTorrent环境配置安装教程,并提供autodl-irssi、webmin的安装配置
- Flood前端配合rtorrent,自己打造优雅的Seedbox:由 MMP@tjupt 撰写的在Linux环境下编译安装支持IPv6的rtorrent(0.9.4) + libtorrent(0.13.4),并使用Flood(Node.js)来替换默认的web前端。
- How to Install Latest Deluge BitTorrent Client on Ubuntu 16.04/14.04
- Install qBittorrent on Ubuntu 16.04 Desktop and Server
- Running Webmin Under Nginx #420