我真是信了某些站攻略的邪,瞎写的,也不知道自己配置过没有。
随着开学的临近,我也想重新调整下我的文档数据,正好原先使用的坚果云备份时间到期不想继续使用。(在5月做设计的时候遇到很严重的同步问题,一直没能解决)
所以把私人云储存的目光瞄到了 Vultr 赠送的50G空间(对于文档来说够用了,大文件都是用GDrive+OneDrive存储+本地冷备份
,照片则本地冷备份+Google Photos+Yandex.Disk
)。
环境要求
官方文档见: System requirements — Nextcloud 13 Administration Manual 13 documentation
本人是用的是惯例的: Ubuntu 16.04 LTS + LNMP 1.5 (lnmp.org)
LNMP环境搭建
- 是用lnmp.org提供的LNMP 1.5进行搭建,不过在安装前需要修改
lnmp.conf
文件,启用PHP的fileinfo插件。(注:fileinfo并非必要,只不过如果不安装,后面在基本设置界面会有提醒,不如装了算了)
screen -S lnmp
wget http://soft.vpser.net/lnmp/lnmp1.5.tar.gz -cO lnmp1.5.tar.gz && tar zxf lnmp1.5.tar.gz && cd lnmp1.5
sed -i "s/Enable_PHP_Fileinfo=.*/Enable_PHP_Fileinfo='y'/g" lnmp.conf
./install.sh lnmp
本人是用的是Mysql 5.6.41, PHP 7.2.9, TCmalloc,但实际官方推荐的是Mysql 5.5以及PHP 7.0或7.1。(建议选择PHP 7.1,而不是本人选择的 PHP 7.2,因为部分扩展应用尚未提供对应支持),反正此处任你选择即可。安装需要一些时间,耐心等待即可。
- 自签SSL备用(此步并非必须,但你必须要配置https,你可以在后面添加vhost的时候是用Let's Encrypt进行SSL证书签名),并将生成的
$DOMAIN.crt
以及$DOMAIN.key
复制到/usr/local/nginx/ssl
备用。
wget https://github.com/michaelliao/itranswarp.js/blob/master/conf/ssl/gencert.sh
./gencert.sh
mkdir -p /usr/local/nginx/ssl
- 启用Opcache作为PHP 优化加速组件。
./addons.sh install opcache
并在php.ini中修改相关配置。
opcache.enable=1
opcache.enable_cli=1
opcache.interned_strings_buffer=8
opcache.max_accelerated_files=10000
opcache.memory_consumption=128
opcache.save_comments=1
opcache.revalidate_freq=1
- 并选择Memcached、Redis、Apcu其中之一作为缓存引擎。(具体选择请见官方文档 Configuring memory caching )
./addons.sh install memcached # 使用php-memcached
./addons.sh install redis
./addons.sh install apcu
- 创建vhost
使用lnmp命令创建vhost。这里一堆选项除了SSL之外全部为n
。因为我们后面需要自己配置。
[email protected]:~/lnmp1.5# lnmp vhost add
+-------------------------------------------+
| Manager for LNMP, Written by Licess |
+-------------------------------------------+
| https://lnmp.org |
+-------------------------------------------+
Please enter domain(example: www.lnmp.org): cloud.example.com
Your domain: cloud.example.com
Enter more domain name(example: lnmp.org *.lnmp.org):
Please enter the directory for the domain: cloud.example.com
Default directory: /home/wwwroot/cloud.example.com:
Virtual Host Directory: /home/wwwroot/cloud.example.com
Allow Rewrite rule? (y/n) n
You choose rewrite: none
Enable PHP Pathinfo? (y/n) n
Disable pathinfo.
Allow access log? (y/n) n
Disable access log.
Create database and MySQL user with same name (y/n) n
Add SSL Certificate (y/n) y
1: Use your own SSL Certificate and Key
2: Use Let's Encrypt to create SSL Certificate and Key
Enter 1 or 2: 1
Please enter full path to SSL Certificate file: /usr/local/nginx/ssl/cloud.example.com.crt
Please enter full path to SSL Certificate Key file: /usr/local/nginx/ssl/cloud.example.com.key
Press any key to start create virtul host...
- 删除
.user.ini
,解除open_basedir
限制
这一步一定要做,否则会遇到很多奇怪的问题。
使用lnmp提供的工具直接删除就行,在lnmp解压的目录执行一下命令:
./tool/remove_open_basedir_restriction.sh
你也可以选择手动删除并将 /usr/local/nginx/conf/fastcgi.conf
里面的fastcgi_param PHP_ADMIN_VALUE "open_basedir=$document_root/:/tmp/:/proc/";
在该行行前添加 # 或删除改行,然后重启nginx。
# 删除网站根目录下的.user.ini
cd /home/wwwroot/cloud.example.com
chattr -i .user.ini
rm .user.ini
获取Nextcloud并安装
- 到 Install – Nextcloud 中获取最新的下载地址并使用wget下载+移动。
cd /tmp
wget https://download.nextcloud.com/server/releases/nextcloud-13.0.6.zip
unzip nextcloud-13.0.6.zip
mv nextcloud/* /home/wwwroot/cloud.example.com
mv nextcloud/.[^.]* /home/wwwroot/cloud.example.com # 移动 .user.ini 以及 .htaccess 两个隐藏文件
- 配置目录权限
# 网站目录
cd /home/wwwroot/cloud.example.com
chown www:www -R ./
chattr +i .user.ini # 此处是否需要重新加回权限存疑,不过为了防止网站被误删,建议加回
# 数据目录 ,假设数据目录在 /mnt/blockstorage 下
mkdir -p /mnt/blockstorage/nextcloud
chown www:www -R /mnt/blockstorage/nextcloud
- 配置数据库:使用phpMyadmin添加一个名为
nextcloud
的用户,并创建与用户同名的数据库,授予所有权限。 - 配置Nginx文件,官方文档参见 Nginx configuration。下面配置参照官方提供的样板以及lnmp自动生成的修改,请根据你的需要修改
server_name
字段以及log记录位置。
server
{
listen 80;
listen [::]:80;
server_name cloud.example.com;
return 301 https://$server_name$request_uri;
}
server {
listen 443 ssl http2;
listen [::]:443 ssl http2;
server_name cloud.example.com;
index index.html index.htm index.php default.html default.htm default.php;
root /home/wwwroot/cloud.example.com;
ssl on;
ssl_certificate /usr/local/nginx/ssl/cloud.example.com.crt;
ssl_certificate_key /usr/local/nginx/ssl/cloud.example.com.key;
ssl_session_timeout 5m;
ssl_protocols TLSv1 TLSv1.1 TLSv1.2;
ssl_prefer_server_ciphers on;
ssl_ciphers "EECDH+CHACHA20:EECDH+CHACHA20-draft:EECDH+AES128:RSA+AES128:EECDH+AES256:RSA+AES256:EECDH+3DES:RSA+3DES:!MD5";
ssl_session_cache builtin:1000 shared:SSL:10m;
# openssl dhparam -out /usr/local/nginx/conf/ssl/dhparam.pem 2048
ssl_dhparam /usr/local/nginx/conf/ssl/dhparam.pem;
add_header X-Content-Type-Options nosniff;
add_header X-XSS-Protection "1; mode=block";
add_header X-Robots-Tag none;
add_header X-Download-Options noopen;
add_header X-Permitted-Cross-Domain-Policies none;
include rewrite/none.conf;
#error_page 404 /404.html;
# Deny access to PHP files in specific directory
#location ~ /(wp-content|uploads|wp-includes|images)/.*\.php$ { deny all; }
location = /robots.txt { allow all; log_not_found off; access_log off; }
# The following 2 rules are only needed for the user_webfinger app.
# Uncomment it if you're planning to use this app.
#rewrite ^/.well-known/host-meta /public.php?service=host-meta last;
#rewrite ^/.well-known/host-meta.json /public.php?service=host-meta-json
# last;
location = /.well-known/carddav { return 301 $scheme://$host/remote.php/dav; }
location = /.well-known/caldav { return 301 $scheme://$host/remote.php/dav; }
location / {
rewrite ^ /index.php$request_uri;
}
location ~ ^/(?:build|tests|config|lib|3rdparty|templates|data)/ {
deny all;
}
location ~ ^/(?:\.|autotest|occ|issue|indie|db_|console) {
deny all;
}
location ~ ^/(?:index|remote|public|cron|core/ajax/update|status|ocs/v[12]|updater/.+|ocs-provider/.+)\.php(?:$|/) {
fastcgi_split_path_info ^(.+?\.php)(/.*)$;
include fastcgi_params;
fastcgi_param SCRIPT_FILENAME $document_root$fastcgi_script_name;
fastcgi_param PATH_INFO $fastcgi_path_info;
fastcgi_param HTTPS on;
#Avoid sending the security headers twice
fastcgi_param modHeadersAvailable true;
fastcgi_param front_controller_active true;
fastcgi_pass unix:/tmp/php-cgi.sock;
fastcgi_intercept_errors on;
fastcgi_request_buffering off;
}
location ~ ^/(?:updater|ocs-provider)(?:$|/) {
try_files $uri/ =404;
index index.php;
}
# Adding the cache control header for js and css files
# Make sure it is BELOW the PHP block
location ~ \.(?:css|js|woff|svg|gif)$ {
try_files $uri /index.php$request_uri;
add_header Cache-Control "public, max-age=15778463";
# Add headers to serve security related headers (It is intended to
# have those duplicated to the ones above)
# Before enabling Strict-Transport-Security headers please read into
# this topic first.
# add_header Strict-Transport-Security "max-age=15768000; includeSubDomains; preload;";
#
# WARNING: Only add the preload option once you read about
# the consequences in https://hstspreload.org/. This option
# will add the domain to a hardcoded list that is shipped
# in all major browsers and getting removed from this list
# could take several months.
add_header X-Content-Type-Options nosniff;
add_header X-XSS-Protection "1; mode=block";
add_header X-Robots-Tag none;
add_header X-Download-Options noopen;
add_header X-Permitted-Cross-Domain-Policies none;
# Optional: Don't log access to assets
access_log off;
}
location ~ \.(?:png|html|ttf|ico|jpg|jpeg)$ {
try_files $uri /index.php$request_uri;
# Optional: Don't log access to other assets
access_log off;
}
location ~ /\.
{
deny all;
}
access_log /home/wwwlogs/cloud.example.com;
}
至此,完成基础配置。也请别忘了添加域名的A以及AAAA记录。
网页完成安装以及配置调优
访问对应域名,如本例的cloud.example.com
,你会看到NextCloud的安装界面,在此你可以填入自己管理员账户,并修改数据目录以及Mysql配置。稍等就可以完成最后的安装过程。
(你也可以使用cli的形式进行安装,具体见 Installing from command line — Nextcloud 13 Administration Manual 13 documentation 此处不再累述)
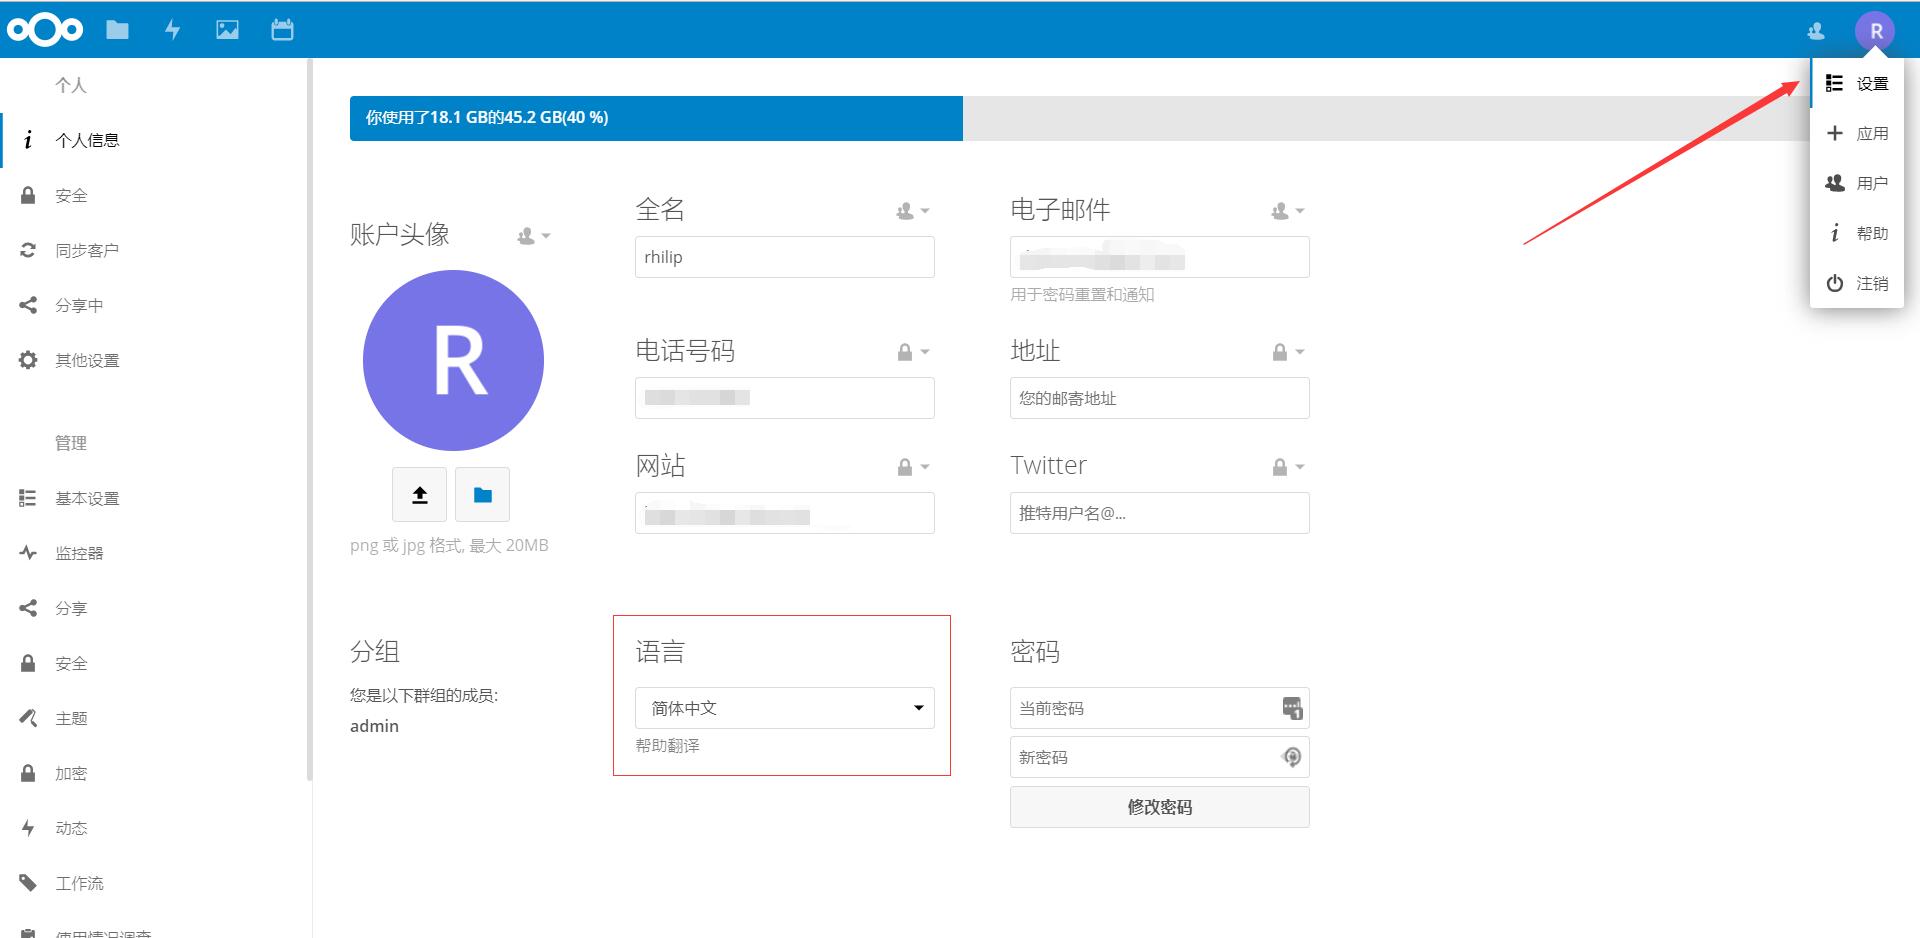
然后进入设置界面,修改默认语言为简体中文。 (对,不懂别tm用瞎改配置文件的方式修改语言,别人都提供了web界面还傻。
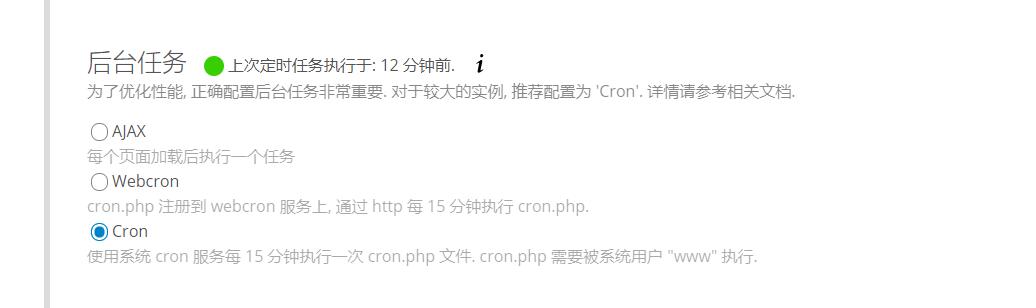
在管理-基本设置中将后台任务
改为Cron
的形式,并添加对应的crontab任务。
[email protected]:~# crontab -u www -e
*/15 * * * * php -f /home/wwwroot/cloud.example.com/cron.php
添加缓存,参照官方文档 Configuring memory caching — Recommendations based on type of deployment 使用你之前安装的缓存组件来修改你的 config/config.php
文件,如使用APCu(缓存)和Redis(文件锁),则在其后添加以下片段
'memcache.local' => '\OC\Memcache\APCu',
'memcache.locking' => '\OC\Memcache\Redis',
'redis' => array(
'host' => 'localhost',
'port' => 6379,
),
请注意,redis的可选配置项还有dbindex
,password
,timeout
。你可以按需使用。
至此,所有配置完成。你可以使用官方客户端或者WebDAV的形式在本地连接使用。
第一句话:我真是信了某些站攻略的邪,瞎写的,也不知道自己配置过没有。 说的很对
很多网站各种采集拼接,内容错误百出,又要改这个,又要动那个。本来简简单单的配置安装,看了他们的教程,脑袋都搞大了。
感谢博主教程,搭建下看看和seafile有什么差别
可能不会搭建seafile了,个人用nextcloud用的挺习惯的,而且本站也不是那些教程站,没必要贪多求全。